

On this page
A trade show booth is a big investment, and most of it is spent before you ever see it standing on the show floor. A detailed 3D design changes that. You see exactly what you’re getting (layout, graphics, flooring, lighting, product placement) before anything is built or printed.
Here’s how we take a booth from your first brief to a full set of realistic renders. This is the design part of the full Purple Exhibits process: discover and define, design, plan and price, produce, stage and ship, then install.
The process at a glance
| Step | What happens | What you get |
|---|---|---|
| 1. Brief | We learn your goals, show, booth size, products and brand | A clear plan |
| 2. 3D model | We build the booth in 3D, at exact size | Layout and structure |
| 3. Graphics | We design graphics matched to your brand | Artwork placed on the model |
| 4. Renders | We produce realistic images of the booth | Photo-like views from every angle |
| 5. Proposal | We present it all in one clear deck | A proposal you can share and approve |
| 6. Revisions | We adjust based on your feedback | Final approved design |
Timing: for rental booths, Purple Exhibits sends a rendering with your graphics and a fixed all-in proposal within 24 hours. Custom design timing depends on the scope, and production takes 30–45 days from approval.
Step 1: The brief
Every good booth starts with good questions:
- Which show, and what booth size? A 10×20 inline booth and a 20×20 island are completely different designs.
- What’s the goal? Launching a new product? Meeting distributors? Getting designers to specify you?
- What do you need to show? Products, samples, screens, demos, slabs, installed flooring
- What do you need to fit? Meeting space, storage, a counter, a bar
- What are your brand guidelines? Logo, colors, fonts and photography
- What’s the budget? This helps us choose the right materials from the start.
Tip: send us photos of past booths you liked, from you or from anyone else, and say what you liked about them. It speeds things up a lot.
Step 2: The 3D model
We build your booth as an accurate 3D model at real-world scale. This is where the layout gets decided:
- Where visitors enter and how they move through the booth
- Where products, counters, screens and meeting areas go
- Wall heights, structures and hanging signs (within show rules)
- Flooring, including raised floors and installed product
- Sightlines: what visitors see from the aisle, from far away and up close
Because the model is to scale, we catch problems early, like a counter blocking a walkway, a wall too tall for the show’s rules, or a display that won’t fit.
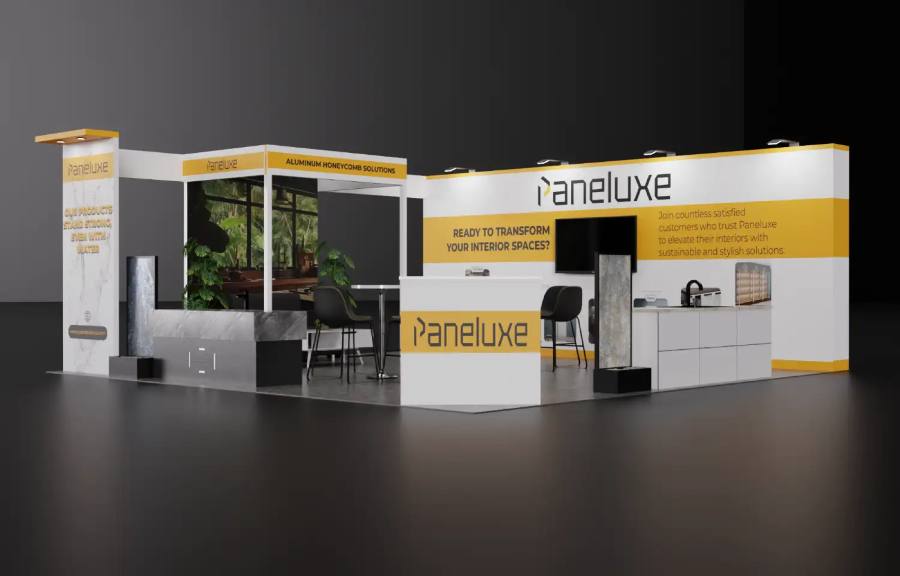
Step 3: Brand-matched graphics
Graphics make or break a booth. We design them from your brand guidelines (colors, fonts, logo and photography) and place them directly on the 3D model, so you see exactly how they’ll look at full size.
- Key message placed high and large, where it can be read from the aisle
- Product photography sized for walls, including backlit fabric (SEG) graphics
- Colors matched to your brand codes before anything goes to print
Read more: SEG Fabric vs. Other Trade Show Graphics
Step 4: Realistic renders
Renders are photo-like images of your finished booth. We produce several views, typically:
- The hero view from the main aisle, the first thing visitors see
- Corner and side views showing every face of the booth
- Close-ups of key areas such as the reception counter, product walls and meeting space
- Top view of the layout and flow
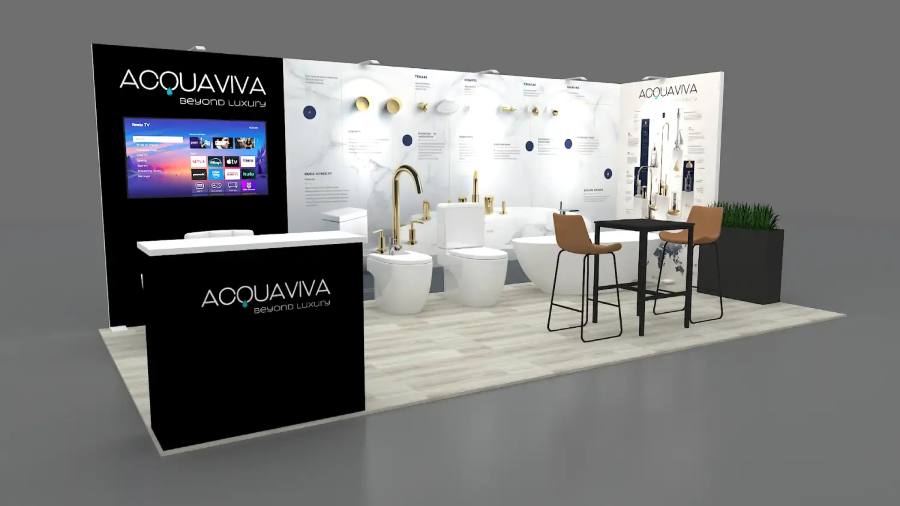
Why it matters: renders let your whole team (marketing, sales, management) see and approve the booth before money is spent. They’re also great for promoting your booth before the show, on LinkedIn, in emails and in your newsletter.
Step 5: The proposal deck
Everything comes together in one clear proposal: renders from every angle, the layout, materials, graphics and key details. It’s easy to share with decision-makers and get approval internally.
Step 6: Revisions and approval
Want the counter moved? A different color on the back wall? More space for meetings? We adjust the 3D design and send updated renders. Once you approve, the design goes into production: building, printing and flooring, exactly as you saw it.
Revision terms depend on the agreed project scope.
Why design in 3D first?
- No surprises on show day. What you approve is what gets built.
- Faster decisions. Your team approves real images, not sketches.
- Fewer costly changes. Problems are fixed in the model, not on the show floor.
- Better graphics. You see artwork at full scale before printing.
- Marketing content. Use the renders to promote your booth before the show.
Frequently asked questions
How long does a 3D booth design take?
For rental booths, Purple Exhibits sends a rendering with your graphics and a fixed proposal within 24 hours. Custom designs depend on the scope; once approved, production takes 30–45 days.
What do you need from me to start?
Your show, booth size, goals, products to display, brand guidelines and budget range.
Can you design for any booth size?
Yes. Purple Exhibits designs and builds inline, peninsula and island booths from 10×10 to 40×40.
Will the finished booth look like the renders?
That’s the goal. The renders are built from the same model we use for production, with real materials and dimensions.
Start your 3D booth design
Tell us your show, your booth size and what you want to achieve, and we’ll send you a 3D booth design proposal.
Last updated . Show dates and venue rules come from official sources. Always confirm in your exhibitor manual.
Keep reading
Related guides
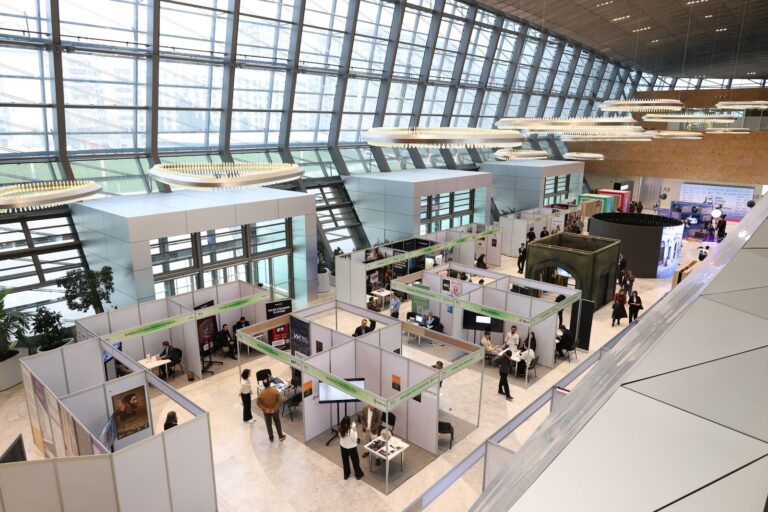 AI Booth Design
AI Trade Show Booth Design: The 2026 Exhibitor Playbook
Where AI really helps with booth design, from the brief to lead follow-up, plus a free brief builder and ROI calculator.
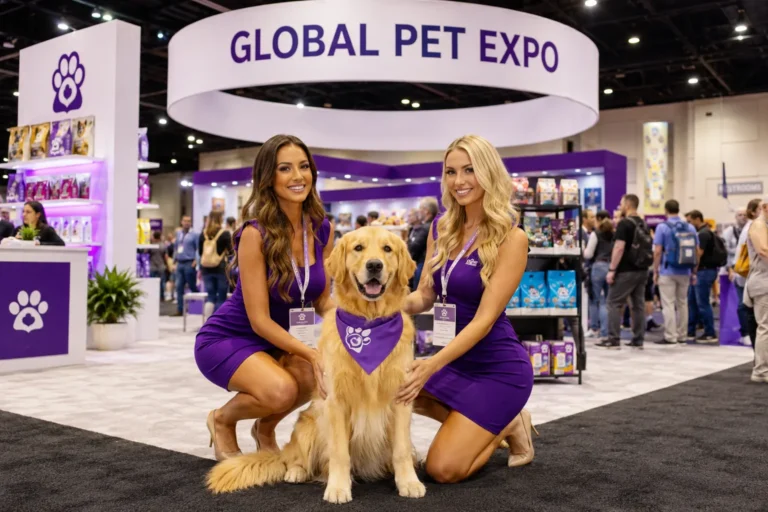 Pet Expo Displays
Global Pet Expo Product Display & Booth Ideas for 2027 Exhibitors
Win buyers at Global Pet Expo 2027 with hero SKUs, shelving hierarchy, sampling and backstock built around five-second buyer questions.
 KBIS Engineering
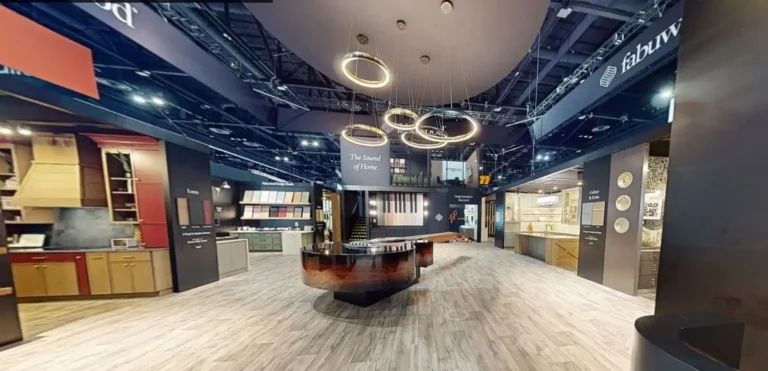
KBIS Booth Engineering: Building Working Kitchens, Baths and Product Displays
How KBIS booths with working kitchens, plumbing, appliances and heavy surfaces are engineered, tested and shipped to Las Vegas.
Exhibiting in 2027?
See your booth in 3D before anything is built.
Tell us your show and booth size. Our team sends a 3D design proposal with renders: layout, graphics, flooring and pricing.